How to install a dash cam properly

SafeWise experts have years of firsthand experience testing the products we recommend. Learn how we test and review

Buying a dash cam for your vehicle is a great way to add extra peace of mind. Dash cams can help boost security inside and outside the car. They’re great no-bias ‘witnesses’ for insurance claims or to share with the police. Alternatively, they’re great tools for capturing all manner of wild driving that occurs on Australian roads every day.

Buying a dash cam is the first step, but installation is the next one. Here’s everything you need to know about installing a dash cam in your car the right way.

DIY vs professional dash cam installation

In terms of installation, the first major decision to make is whether you want an easy-to-setup dash cam that’s designed for DIY installation or professional installation. In fairness, if you’re not confident with a DIY installation, you can also seek professional dash cam installation help for basic models, too.

That said, the trend for mainstream dash cam models is straightforward installation. Unless you’re savvy with car wiring, choose a dash cam that’s designed to work with the 12-volt power outlet inside your car.

If you’re willing to pay for professional installation, you can still choose a DIY dash cam, but it also opens up hardwired-cam possibilities. Hardwired dash cams offer greater functionality and are essential for vehicle users who want to use ‘parking mode’. Typically, dash cams turn on and off with the car engine, but dash cams with parking mode can record when the vehicle is turned off.

The other reason to consider hardwired is for better power regulation between a vehicle’s battery and the dash cam. If you do seek professional installation, expect to pay anywhere from $150 to around $500. Chat with the installer about any specific installation requirements, including where you’d ideally like the dash cam placed for optimal recording. We also advise discussing the best way to tuck away cables for a clean look that’s free of unintentional snags.

DIY dash cam installation tips

We always advise reading the manual—or, at the very least, the quick-start guide—when installing products, and dash cams are no exception. Certain dash cams may also offer app-assisted installation to guide you every step of the way. Once you’ve unboxed the camera and have all of the necessary parts in front of you, the first step is dash cam placement.

Ideally, you want to place the dash cam on your vehicle’s dash where it has the best view. Single-camera dash cams have more freedom of placement based on whether you’re recording in front, behind, or inside the car. But multi-camera dash cams should be placed with the best view for all recording angles.

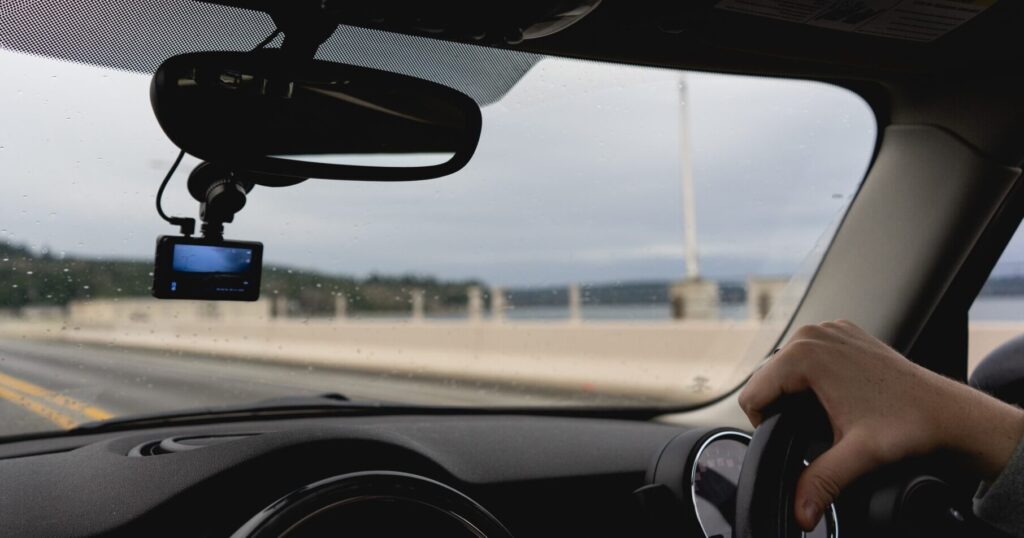
Generally, the best dash-cam placement spot is high on the windscreen and just below the rear-view mirror. This allows an uninterrupted view upfront and, for multi-camera dash cams, provides a great angle inside and/or behind the vehicle. Wherever you place it, ensure the dash cam is in a spot covered by windscreen wipers so that it can record clearer footage when it’s raining. After placement, the next trick is running the power cable.

You can take the most efficient path and drop the cable from the dash cam to the 12-volt power outlet. But that can create potential snags and it doesn’t look as clean as running the cable around the top side of the windscreen, down the side near the glove box, then around and beneath the car dash. If your vehicle has a dash mat, this is also a great option for hiding a dash cam cable; it can also help if your dash cam doesn’t quite have the cable reach that allows for longer routing.

Checklist
Dual-camera installation
Some dash cams come with a second camera that’s designed to sit externally on the back of the car. For these models, the neatest cabling path is via the vehicle’s A-pillar (i.e. the front doors), then beneath the kick panels and out to the back of the car. Look for a spot to feed the cable out to an external rear cam near the rear number plate light for placement above the licence plate. In terms of angle, position the rear cam so it only shows a tiny bit of the edge of your rear bumper.

Post-installation dash cam setup

Once you’ve positioned the dash cam/s and connected to power, the last step is configuration. Note that the vehicle will likely need to be powered on to access dash cam settings. If your dash cam supports a companion app, this will help with streamlined configuration.

Alternatively, navigate the menu on the dash cam to personalise settings. If you’re installing a memory card for the first time, accept the prompt to format it for the most storage capacity. Using the manual as a guide, personalise your recording settings, including resolution, recording length, sensor settings, and any other relevant features.

We’d advise taking a drive to record some test footage, reviewing what the dash cam captures, and then adjusting settings accordingly. Certain dash cams necessitate removing the memory card to access footage, while others let you transfer via WiFi or Bluetooth to a companion app.

FAQ

In terms of installation, the best dash cam to buy is one that’s easy to set up or one you’re happy to pay for professional installation. Start dash cam comparisons with brands like Uniden or Nextbase for cheaper options, or BlackVue and Navman for higher-end models.

Prices for dash cam installation vary based on where you go for professional installation. According to our research, prices range from around $150 up to $500.
Yes, you can install your own dash cam. If you want to install your own dash cam, we’d advise buying one that promotes DIY installation and doesn’t require hardwiring (unless you’re savvy with car wiring).
Hardwiring a dash cam is worth considering in certain situations. For instance, if you want to use a parking mode feature (the cam runs after the car is turned off) or better power regulation between dash cam and car battery, consider a hardwired dash cam.
According to our research, you shouldn’t expect lower insurance costs for using a dash cam. That said, if there is an incident, being able to provide video footage that shows you’re not at fault can help streamline a claim.

Disclaimer
Product prices and availability are accurate as of the date/time of publish and are subject to change. Any price and availability information displayed on the retailer’s website at the time of purchase will apply to the purchase of this product. SafeWise Australia utilises paid affiliate links.
Nathan Lawrence
Written by
Nathan Lawrence

Recent Articles