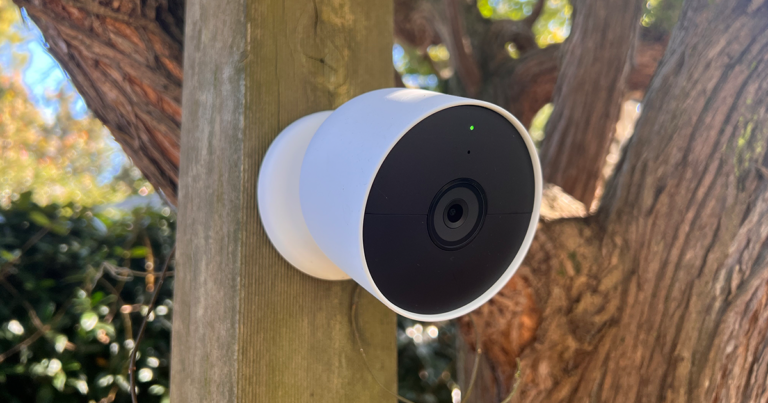
The hardest part about installing the Google Nest Cam is deciding where you want to position it. In the box you’ll get almost everything you need to install the camera, including the perfect sized screws, and wall anchors if you’re putting it into brick or stone. Note that no matter what surface you’re installing on, you’ll need to drill pilot holes as the screws aren’t self sinking.
Putting up the mount took less than five minutes, and after that you just snap the magnetic camera directly to the plate. It holds strong, and allows for small adjustments in a way that a mechanical hold wouldn’t.
When the install is done, you can set up the tech itself. In the most general terms, the Google Nest Cam has a simple setup but there is a well documented flaw that Google is yet to find a solution for.
If you already have other Nest products you are going to have problems adding the Nest Cam to your home. I already have a Nest Hub and Nest Doorbell, both which work best together, but adding the Nest Cam to that system proved impossible.
When trying to add the camera to my Home, the app simply wouldn’t let me. It didn’t recognise that the camera was there at all. Google doesn’t offer any solutions to this problem, but according to forums you need to remove all your other cameras from your Home and then start again from scratch. This makes the usually smooth setup process immensely more difficult.
I didn’t follow this advice however, I just created a new Home and set up my Nest Cam as a separate entity. For the purposes of this review that worked just fine, but it does mean that if I was so inclined I would have to pay for Nest Aware twice in order to get footage from both cameras.
Google will inevitably fix this bug, but for now it makes the Cam setup frustrating for Nest users. So much for loyalty hey?
Once I started my new Home however, connecting the Nest Cam took a couple of minutes. Using the Google Home app, I paired the device with my account and had it working in a snap.