How to Install the Ring Battery Doorbell Plus

Why you can trust SafeWise
products considered
250+
research hours in 25+ in-home tests
10k+
years of combined experience
176+
homes and people protected
10M+

For over 13 years, SafeWise experts have conducted independent research and testing to write unbiased, human reviews (not robots). Learn more.

Alina Bradford
Feb 17, 2026
Icon Time To Read6 min read

With 25+ years in tech journalism, Alina blends safety expertise with her passion for simplifying technology. Alina has tested hundreds of safety and security devices, is trained as a first responder, and has worked as a volunteer firefighter.

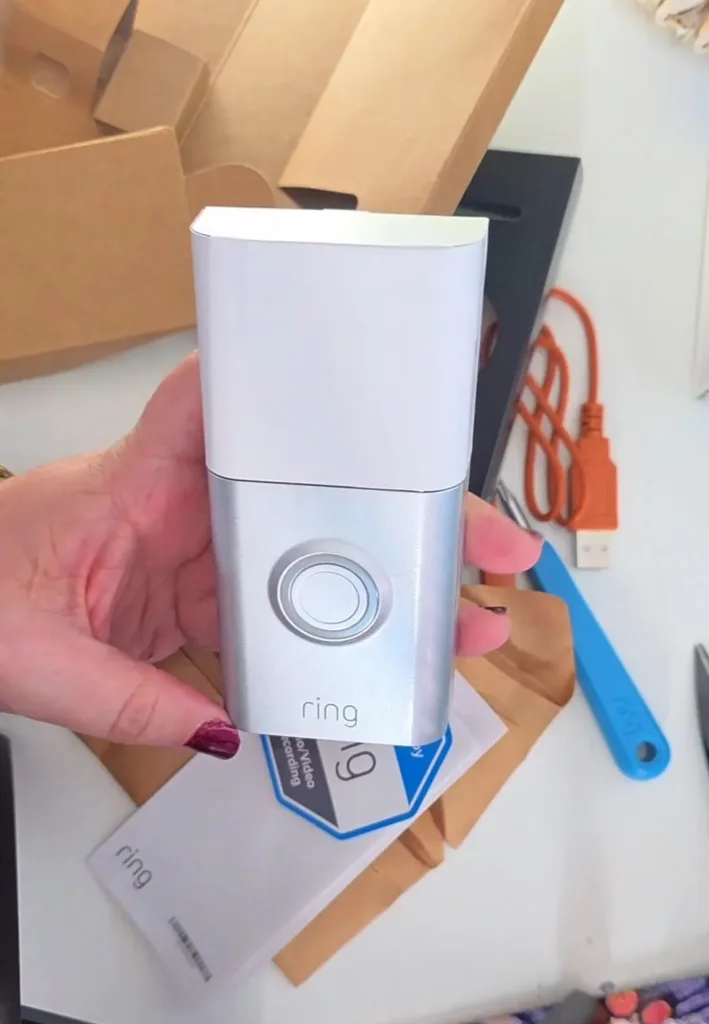
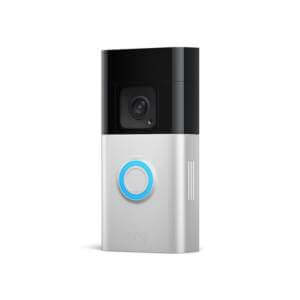
I've installed multiple Ring Video Doorbell Plus cameras over the years. Installing a wireless video doorbell sounds intimidating until you realize it mostly involves charging a battery, tightening a few screws, and resisting the urge to overthink it. I found the process pretty simple. +

The Ring Battery Doorbell Plus is designed for regular humans, not electricians, so the process is pretty straightforward, whether you plan to mount it with screws, stick it up temporarily, or connect it to existing doorbell wiring.

This guide walks through everything from unboxing to setup in the app, mounting options, wiring instructions, and finishing touches so you can get the camera running without confusion.

Video: How to install the Ring Battery Doorbell Plus

Play Video

Subscribe to our YouTube channel for more how-tos, demos, and in-home reviews.

What's in the Box

The Ring Video Doorbell Plus comes with an orange charging cable.

Image: Alina Bradford, SafeWise

Before doing anything else, open the package and check that all the parts are there. This will prevent a lot of problems.

The doorbell kit includes:

  • The Ring Battery Doorbell Plus unit
  • A rechargeable battery
  • A USB charging cable (usually orange)
  • A mounting plate
  • Multiple screw packets labeled A, B, C, and D
  • A screwdriver tool
  • Warranty information and setup instructions
  • A window security sticker

Tip: Each packet of screws has a specific purpose, so it helps to keep them separated until installation begins.

Charge the battery

When you unbox your Ring Battery Doorbell Plus, you'll find it can be either hardwired or battery-powered. If you choose the latter, the first step is crucial: charge the battery.
The instructions tell you to jump right into the app, but I recommend fully charging the battery first. During my test, the doorbell had enough energy out of the box to finish pairing, but not much beyond that.

Here's how to charge the Ring Battery Doorbell Plus:

  1. Remove the protective film from the doorbell.
  2. Slide open the bottom panel using the small release tab.
  3. Press the tab marked “push” to release the battery.
  4. Plug the battery into the included charging cable.
  5. Connect the cable to a power source.
  6. The battery has two indicator lights. When both lights turn green, the battery is fully charged. This usually takes several hours if the battery is empty.

Once charging is complete:

  1. Insert the battery back into the doorbell.
  2. Make sure the push tab aligns with the indicator light side.
  3. Snap the bottom cover back into place.

At this point, the hardware is ready for setup.

Pair in the Ring App

Once your battery is fully charged and ready to go, you're just a few steps away from securing your home with the Ring Battery Doorbell Plus. Follow these instructions:

Before mounting anything, you need to connect the doorbell to your Wi-Fi and create the device profile in the mobile app.

Follow these steps:

  1. Download the Ring app on your phone.
  2. Open the app and allow notifications.
  3. Create an account or sign in.
  4. Tap “Set up a device.”
  5. Choose “Doorbells.”
  6. Scan the QR code located on the back of the doorbell.

Next, the app will guide you through:

  • Naming the device location (such as front door)
  • Connecting to Wi-Fi
  • Updating firmware 

While the installation proceeds, your doorbell may install updates or new firmware. Use this time to gather your drill and screwdriver. You can also invite other users in your home to access the camera.

The doorbell will speak out loud during setup, confirming when it connects to Wi-Fi and finishes installation. Once this process is complete, you can proceed to physical mounting.

Light Bulb
Need help?

Ring offers helpful tutorials and suggestions if you have any questions or need assistance during installation.

Installing your Ring Battery Doorbell Plus

Installing a Ring Battery Doorbell Plus is a manageable DIY project even if you have never installed smart home devices before. The key is planning and deciding on how you want to do it.

Find the best spot

Now that your Ring doorbell is online, here are some tips for choosing the right spot for your doorbell camera.

  • Choose a height. Proper placement matters because it affects how well the camera captures motion and faces. The recommended height is about 4 feet above the ground. This height provides the best angle for capturing visitors while still monitoring packages near the ground. Use a measuring tape and mark the mounting position with a pencil before drilling.

  • Take your time. Ensure everything is level and in the correct position, as Ring doesn't provide a mounting template.
  • Experiment. Try a few spots around your front door to find the optimal view using the live feed.

Decide how you want to mount it

There are three ways to install your Ring Doorbell Camera Plus.

Option 1. Double-sided tape (best for renters)

If you do not want to drill holes, you can mount the doorbell using strong double-sided outdoor adhesive.

This method works well for:

  • Apartments

  • Temporary installations

  • Avoiding wall damage

Simply apply tape to the back plate and press it firmly onto a clean surface.

Option 2. Standard screw mounting

This is the most secure and common method.

You will need:

  • A drill

  • Drill bit similar to screw size

  • Phillips screwdriver

Steps:

  1. Remove the faceplate from the doorbell.

  2. Hold the mounting plate against the wall.

  3. Mark the screw hole locations.

  4. Drill pilot holes.

  5. Attach the plate using the screws from packet A.

  6. Snap the doorbell onto the plate.

Leave screws slightly loose until all are inserted, then tighten them evenly.

Option 3. Using the wedge mount

The wedge mount angles the camera to improve the viewing field, especially if your door faces sideways toward a walkway.

To use it:

  1. Attach the wedge mount to the wall first.

  2. Use the longer screws from packet C.

  3. Mount the doorbell onto the wedge using the small screws provided.

This setup helps avoid blind spots.

Checklist
Understanding the screw packets

Each labeled packet serves a different purpose. Keeping track of these saves time during installation.

  • Packet A: Standard mounting screws for attaching the doorbell to the wall.
  • Packet B: A small security screw that locks the faceplate in place.
  • Packet C: Long screws used when installing the wedge mount.
  • Packet D: Wire caps and accessories for wiring installations.

Attach the faceplate and security screw

Once the doorbell is mounted:

  1. Snap the faceplate back onto the front.

  2. Insert the tiny security screw at the bottom.

  3. Tighten it using the included screwdriver.

This screw prevents the faceplate from being easily removed.

Optional wiring to an existing doorbell

If you already have a wired doorbell system, you can connect the Ring device to it.

Before wiring, confirm your system meets the required voltage specifications listed in the instructions.

Wiring steps:

  1. Remove the two small terminal screws from the back of the doorbell.

  2. Attach the house wires to the terminals.

  3. Tighten the screws gently.

  4. Tuck excess wiring back into the wall.

  5. Mount the doorbell using standard screws.

  6. Use wire caps from packet D to cover unused wires safely.

Once it's wired, the doorbell can integrate with your home’s existing chime. The app will guide you through that part.

Finish setup

After installation, the app allows you to customize features such as:

  • Motion detection zones

  • Alert sensitivity

  • Notification settings

  • Chime connections

  • Smart alerts

Spend some time adjusting these settings so the device alerts you only when needed. It's worth the time, for sure!

Test it out

Your Ring Battery Doorbell Plus is now installed. Congrats! It's time to test it out:

  • Ring the doorbell to check how quickly you receive notifications.
  • Access the live feed and adjust settings as needed to fine-tune your experience.
  • Take advantage of the 30-day trial to Ring's subscription service, which includes video recording, motion notifications, package protection, and more.

With your Ring Battery Doorbell Plus successfully installed and tested, you can enjoy enhanced security and convenience for your home. Please reach out if you have any questions or need further assistance. Stay safe and enjoy the benefits of your new smart doorbell.

Ring Battery Doorbell Plus
View the current price of the Ring Doorbell Plus on Amazon

*Amazon.com prices as of post date. Read full disclaimer.

Stay Safe and become a SafeWise Insider!

Sign up for our free weekly newsletter to get the best safety news, product info, and deals.

By signing up, you agree to our Terms and Conditions and Privacy Policy.

Disclaimer

Product prices and availability are accurate as of the date/time indicated and are subject to change. Any price and availability information displayed on Amazon at the time of purchase will apply to the purchase of this product. Safewise.com utilizes paid Amazon links.

Certain content that appears on this site comes from Amazon. This content is provided “as is” and is subject to change or removal at any time.

Alina Bradford
Written by
Alina is a safety and security expert with over 25 years of experience. She has contributed her insights to CNET, CBS, Digital Trends, MTV, Top Ten Reviews, and many others. After testing thousands of devices, apps, services, and more, her goal is to make safety and security gadgets less mystifying one article at a time. In the early 2000s, Alina worked as a volunteer firefighter, earning her first responder certification and paving the way to her current career. Plus, she has tested hundreds of pieces of security and safety equipment over the years. Places published: CBS, MTV, CVS, Rachael Ray, eBay, Reader’s Digest, ConsumerAffairs, and more. Certifications: Fire Service Training, Oklahoma State University. Awards: Received the Experience Leader certificate from Authority, putting her “in the top 25% among the thousands of professional content creators analyzed by Authory for the Fall 2023 audit.” You can view more of Alina's work at alinabradford.com.

Recent Articles

Tracki GPS Tracker Review
We review the Tracki GPS Tracker—a compact, versatile device ideal for tracking children, vehicles, and...
BoT Talk Review
The BoT Talk offers voice messaging, GPS tracking, and geofencing without the temptation of a...
Tack GPS Tracker Review
The budget-friendly Tack GPS tracker works in 120 countries and costs just $3 to $7...
mother walking kid to school
Best GPS Trackers and Tracking Devices for Kids in 2026
We tested 2026's best wearable GPS tracking devices designed to keep your child within reach...