How to Install Cove Home Security

SafeWise experts have years of firsthand experience testing the products we recommend. Learn how we test and review

We installed a Cove security system in our home to see how easy this DIY system really is.

Cove is a newcomer to the DIY security scene, but it's gotten a lot of attention in the last year or so. The security system touts easy installation, lots of different sensors, and cheap monthly monitoring.

Protect your property
Sign up for our weekly newsletter to get the latest deals, home security tips, and in-depth reviews.

By signing up, you agree to our Terms and Conditions and Privacy Policy.

How to install Cove

Play Video

Subscribe to our YouTube channel and learn how to protect your home, loved ones,  and belongings.


In the box

When you get a Cove home security system, everything you need comes in one big box. (Opening it up felt a bit like Christmas.)

In the first box is the Cove Touch Panel and two mounting options (one for flat surfaces, and another for the wall). We like that you get both options for your home.

Equipment in Cove Home Security box

Image: Katie McEntire, SafeWise

In the second box is the rest of the gear. Cove customizes each system for their customers, so yours might look a little different from ours, but here's what we got:

  • 2 security key remotes
  • 1 smoke and carbon monoxide detector
  • 3 contact sensors
  • 1 freeze and flood sensor
  • 1 panic and medic alert button
  • 1 yard sign and
  • 4 window stickers

1. Touch Panel and app

To get started, set up your Cove Touch Panel.

Plug it in and wait for it to activate. The panel takes you through most of the installation process—which is consistent with how many other DIY security systems are installed.

The Cove app

Cove also has a companion app you can use to control the system, but it wasn't required for the installation. From the app, you can arm and disarm your system or check on any Cove cameras you’ve installed.

Once your passcode's up and running, you’ll install your sensors one-by-one. Cove systems are custom, so the more sensors you have in your kit, the longer this may take. Our entire system took about 15 to 20 minutes to install.

2. Motion sensors

The Cove Touch Panel guided us through the sensors in our system. First, we installed the motion sensors.

Light Bulb
Where should you put motion sensors?

You have a security system with motion sensors; now where do you put them? Check out our YouTube video that explains the best places to put motion sensors.

You can see ours above a doorway in the living room here.

Peel off the sticky backing. Put it in place and make sure it sticks.

Cove security motion sensor on top of doorway

Image: Katie McEntire, SafeWise

3. Door and window sensors

Next, we installed the door sensors. We had three sensors but just one main door, so we got a little creative.

Separate the sensors to activate them. The panel will chime when you do it right.

Then, peel off the sticky backing and place one half of the sensor on the moving part of the door and the other on the wall or door frame.

They don't have to be perfectly aligned or together; just make sure they're close.

Light Bulb
Creative places to put your contact sensors

If it opens and closes, you can put one of these sensors on it. From the mailbox to the cookie jar, check out our list of 5 Surprising Ways to Use Contact Sensors.

We put ours on the front door, kitchen window, and medicine cabinet. Just beware, the adhesive is powerful and can strip paint if you aren't careful.

4. Smoke and CO detector

Next up, we installed the smoke alarm and carbon monoxide detector. Cove’s comes with screws or a sticky adhesive for the wall. Pick how you want to place yours and place it.

Checklist
Every 10 years

Whether it’s a smart smoke and CO detector or a simple model out of the box, be sure to test and maintain smoke alarms and carbon monoxide detectors on a regular basis and to replace them every decade.

Check out our favorite smoke detectors and carbon monoxide detectors.

5. Flood and freeze sensor

And finally, there’s the flood and freeze sensor.

This gadget detects water from leaks or low temperatures that could damage your pipes.

Press the button on the back of the sensor and listen for the tone from the panel. Put this device anywhere that's prone to leaks. We put ours under the kitchen sink.

Image: Katie McEntire, SafeWise

Testing the Cove system

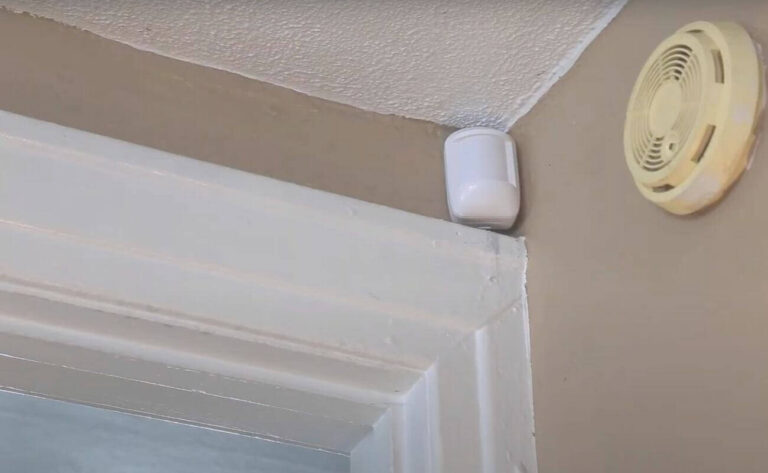
Cove is a little different for everyone based on their style of home and what they want to protect against. Either way, the Touch Panel will walk you through installing every one of your sensors.

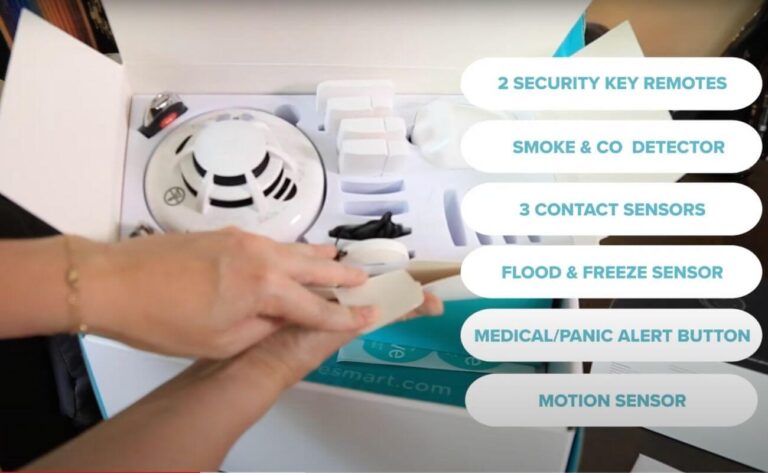
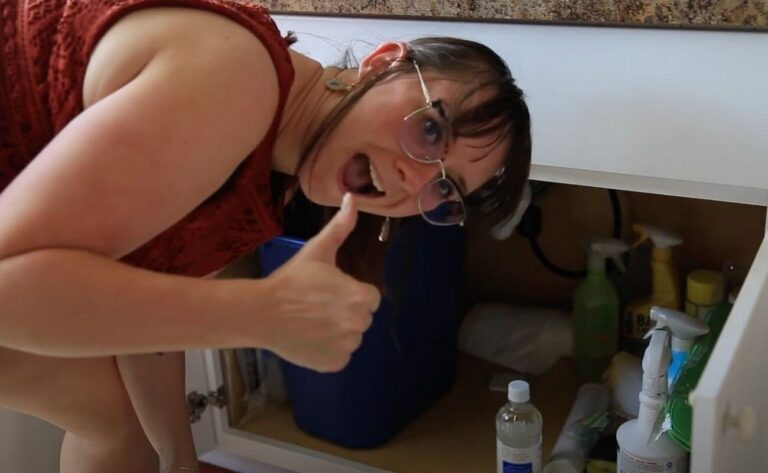
Once they’re in place, you’ll need to test them. First, we tested our motion sensor and three door sensors. Then we tested the key remotes, medical pendant, the smoke and carbon monoxide detector, and of course, the flood and freeze sensor.

When everything's installed and tested, the control panel will take you through settings. You’ll learn how to arm and disarm your system and how to navigate the panel itself.

Finally, it will connect you to the monitoring center to make sure everything's ready to go.

After you're done with the call, you're done setting up Cove!

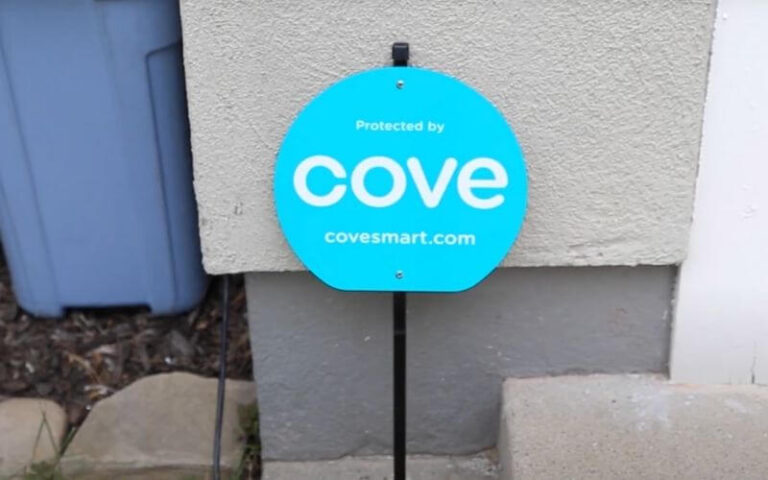
And don't forget the yard sign or stickers either.

Image: Katie McEntire, SafeWise

Final word

And that's it! Your Cove system should be online and ready to go.

In our experience, the Cove customer service and monitoring pros are always available and helpful. If something goes wrong with your installation, don’t hesitate to contact them.

Thumbs Up
Insurance discount?

The last part of the Cove setup is notifying your insurance provider. You might get a discount on your home or renter's insurance for having a home security system. Cove provides the paperwork; it should be in your inbox by the time you're done installing.

And don't forget to get an alarm permit if your city requires one.

Related articles on SafeWise

Related Videos on YouTube

Cove review video thumbnail
Cove security camera review thumbnail